
What Is a Systemd Timer?
If you’ve been scheduling tasks in Linux with cron and wondering whether there’s a better way, learning how to use systemd timers in Linux might be the upgrade you didn’t know you needed. A systemd timer is a unit file (ending in .timer) that triggers a matching service unit on a schedule. Think of it as a two-file system: backup.timer controls when something runs, and backup.service controls what runs.
The best part? Systemd timers are built right into systemd. No extra daemon. No separate config syntax to memorize. If your distro uses systemd (and most do these days), you already have everything you need. If you’re new to service units, start with my guide on how to create a systemd service first.
I’ll be honest: I spent years writing crontab entries before I even touched systemd timers. It was around 2019 when I was setting up automated backups on my Proxmox homelab and kept losing cron output into the void. A friend on IRC mentioned timers and I haven’t looked back since. Once you see your scheduled task output neatly captured in journalctl, cron feels like writing to /dev/null on purpose.
Systemd Timer vs Cron: Why Bother Switching?
Cron works. It’s been working since the 1970s. So why learn something new? Because systemd timers solve real pain points that cron jobs in Linux simply can’t address without ugly workarounds.

Get a VPS from as low as $19.95/year! WOW!
Here’s what you get with systemd timers:
- Automatic logging: Every run is captured by journald with timestamps, exit codes, stdout, and stderr. No more redirecting output in Linux to log files manually.
- Missed-run recovery: Set
Persistent=trueand if your system was off at the scheduled time, the task runs as soon as it boots back up. - No overlapping runs: If your task is still running when the next trigger fires, systemd waits. Cron doesn’t do this without manual file locking.
- Dependency management: Timers can require other units to be active before firing.
- Resource control: Use cgroup limits to cap CPU, memory, or I/O for your scheduled tasks.
| Feature | Cron | Systemd Timer |
|---|---|---|
| Logging | Manual (email/redirect) | Automatic via journald |
| Missed runs | Lost forever | Persistent=true catches up |
| Overlap prevention | Requires flock or PID files | Built-in |
| Dependencies | None | Full unit dependency system |
| Resource limits | None | cgroup controls |
That said, cron still has its place. If you need a quick one-liner on a system where portability matters, or you’re writing scripts that need to work across non-systemd distros, scheduling cron jobs is still perfectly valid.
Timer Types: Realtime vs Monotonic
Systemd timers come in two flavors. Understanding the difference is key to picking the right approach for your task.
Realtime Timers (OnCalendar): Run on Wall-Clock Events
Realtime timers use the OnCalendar= directive. They fire based on actual calendar dates and times, just like cron. Want something to run every day at 2:00 AM? That’s a realtime timer.
[Timer]
OnCalendar=*-*-* 02:00:00
Persistent=true
Monotonic Timers (OnBootSec, OnUnitActiveSec): Relative Intervals
Monotonic timers fire relative to an event. OnBootSec=5min means “run 5 minutes after boot.” OnUnitActiveSec=1h means “run 1 hour after the last time this timer’s service activated.” These timers pause during system suspend.
A powerful pattern combines both for “run at boot, then repeat”:
[Timer]
OnBootSec=5min
OnUnitActiveSec=1h
This fires 5 minutes after boot, then every hour after that. I use this exact pattern on my homelab for health-check scripts that need to start quickly but keep running on a loop.
Creating Your First Systemd Timer (Step-by-Step)
Let’s build a real timer from scratch. We’ll create a daily backup script timer. You’ll need two files: a .service file and a .timer file.
System-wide timers:
/etc/systemd/system/User-scoped timers (no root needed):
~/.config/systemd/user/ — manage with systemctl --user
Step 1: Create the Service Unit File
Create /etc/systemd/system/daily-backup.service:
[Unit]
Description=Daily backup script

[Service]
Type=oneshot
ExecStart=/usr/local/bin/backup.sh

[Install]
WantedBy=multi-user.target
Type=oneshot is the right choice for scheduled tasks. It tells systemd the process runs once and exits. If you need help writing the script itself, check out my guide on bash script fundamentals.
Step 2: Create the Timer Unit File
Create /etc/systemd/system/daily-backup.timer:
[Unit]
Description=Run daily backup at 2am

[Timer]
OnCalendar=*-*-* 02:00:00
Persistent=true

[Install]
WantedBy=timers.target
Notice the [Install] section uses WantedBy=timers.target, not multi-user.target. This ensures systemd properly tracks it in the timer subsystem. The matching filename (daily-backup.timer for daily-backup.service) is what links them together.
Step 3: Reload, Enable, and Start
After creating or editing unit files, you need to tell systemd about the changes. For a refresher on the difference between reload and restart, see systemctl restart vs reload.
sudo systemctl daemon-reload
sudo systemctl enable --now daily-backup.timer
The --now flag enables and starts the timer in one command. Your backup script will now fire every day at 2:00 AM. For the full set of systemctl commands, I’ve got a dedicated guide.
OnCalendar Syntax: Schedule Reference
The OnCalendar format follows: DayOfWeek YYYY-MM-DD HH:MM:SS. It’s more verbose than cron syntax, but also more readable. Here are the expressions you’ll use most, as documented in the official systemd.timer man page:
Quick Reference: OnCalendar Expressions
daily→*-*-* 00:00:00(midnight every day)weekly→Mon *-*-* 00:00:00(Monday midnight)monthly→*-*-01 00:00:00(first of each month)hourly→*-*-* *:00:00(top of every hour)Mon..Fri *-*-* 09:00:00→ weekdays at 9 AM*-01,04,07,10-01 00:00:00→ quarterly, first day
The real lifesaver here is the ability to test these expressions before you deploy. We’ll get to that in the debugging section below.
Essential Timer Options You Should Know
Beyond OnCalendar, a few directives separate a good timer from a great one.
Persistent=true: Never Miss a Scheduled Run
This is the single most important option most articles skip. When Persistent=true is set, systemd records the last time the timer fired. If the system was powered off when a trigger was due, it fires immediately on next boot.
I learned this the hard way. My homelab backup timer was running faithfully for months until I rebooted my server for a kernel upgrade right at 2 AM. Without Persistent=true, that night’s backup just vanished. Never again.
RandomizedDelaySec: Spread the Load Across Systems
If you manage multiple machines, RandomizedDelaySec= adds a random delay to prevent every system from hitting a shared resource at the exact same moment. Ubuntu’s built-in apt-daily.timer uses this to spread package metadata updates across the day.
[Timer]
OnCalendar=daily
Persistent=true
RandomizedDelaySec=30min
Two other options worth knowing:
- AccuracySec: Controls how precisely the timer fires. The default is 1 minute (systemd may batch wake-ups to save power). Set
AccuracySec=1usif you need precise timing. - Unit=: Override the default same-name pairing. Use
Unit=other-service.serviceto trigger a differently named service.
Managing and Debugging Systemd Timers
Setting up timers is half the job. Knowing how to monitor and troubleshoot them is what separates a working system from a reliable one.
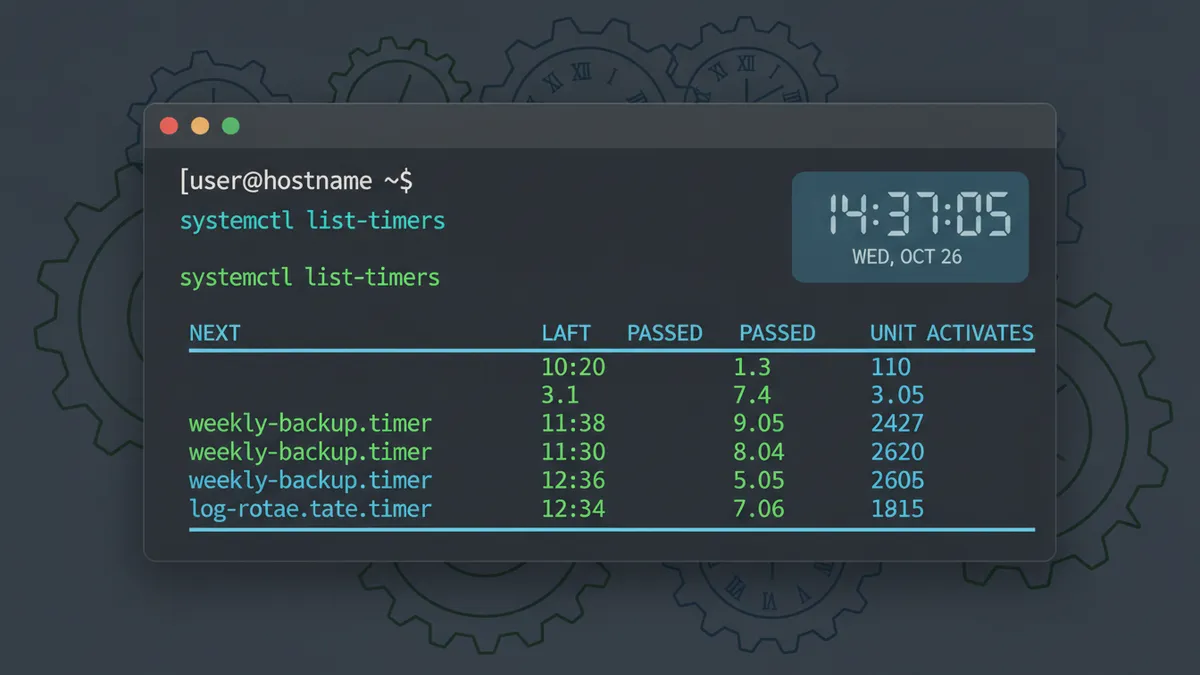
List All Active Timers
systemctl list-timers --allThis shows every timer on the system: when it last fired, when it fires next, and which service it triggers. It’s the first command I run when I’m checking on my automatic backups in Linux.
Check Timer Status
systemctl status daily-backup.timerThis shows whether the timer is enabled, active, and its recent trigger history. For a deeper dive into reading service status, check out how to check systemd service status.
Read Logs with journalctl
journalctl -u daily-backup.serviceThis is where systemd timers truly shine. Every run is logged with full output, exit codes, and timestamps. No more wondering “did my cron job actually run?” For the complete logging toolkit, see my guide on using journalctl to read logs.
Test Calendar Expressions with systemd-analyze
This is the debugging tool most people don’t know about. Before enabling a timer, preview exactly when it will fire:
systemd-analyze calendar 'Mon..Fri *-*-* 09:00:00' --iterations=5This prints the next 5 trigger times. No more guessing. You can also lint your timer file for syntax errors with systemd-analyze verify. Full details are in the systemd-analyze documentation.
Real-World Systemd Timer Examples
Let’s put it all together with three practical examples you can adapt for your own systems.
Example 1: Daily Log Cleanup
Clean up old log files every day at 3 AM. Pair this with logrotate for log management for a complete log maintenance strategy.
# /etc/systemd/system/log-cleanup.service
[Unit]
Description=Clean old log files

[Service]
Type=oneshot
ExecStart=/usr/local/bin/cleanup-logs.sh
# /etc/systemd/system/log-cleanup.timer
[Timer]
OnCalendar=*-*-* 03:00:00
Persistent=true
[Install]
WantedBy=timers.targetExample 2: Boot + Recurring Health Check
Run a health check 5 minutes after boot, then every hour. Uses the monotonic combo pattern.
# /etc/systemd/system/healthcheck.timer
[Timer]
OnBootSec=5min
OnUnitActiveSec=1h

[Install]
WantedBy=timers.target
Example 3: Weekly Backup with Random Delay
Run a weekly backup every Sunday at midnight, but add a random delay so multiple servers don’t slam the backup target simultaneously.
# /etc/systemd/system/weekly-backup.timer
[Timer]
OnCalendar=Sun *-*-* 00:00:00
Persistent=true
RandomizedDelaySec=30min

[Install]
WantedBy=timers.target
The .service file follows the same pattern from our step-by-step example above. Refer to the systemd.service unit reference for the full list of service directives.
“systemd-timer is so much better than cron that it was actually quite a lot of fun in the end to have everything converted.” — Anteru (Matthäus G. Chajdas), Graphics Engineer, AMD
Start Automating with Systemd Timers
Knowing how to use systemd timers in Linux gives you better logging, missed-run recovery, overlap protection, and resource controls that cron simply can’t match. The two-file pattern (a .timer plus a .service) takes a few extra minutes to set up, but the reliability payoff is worth it every time.
If you’re coming from a cron background, I’d suggest converting one timer at a time. Start with your most critical scheduled task. Once you see full logging in journalctl and Persistent=true catching a missed run after a reboot, you’ll wonder why you waited so long.
Ready to level up your Linux workflow? Check out more Linux terminal productivity tips, or dive deeper into how to create a systemd service to build more powerful automation chains.


