
The first time I plugged a second hard drive into my homelab tower, I sat there staring at the terminal like it had personally betrayed me. Was it /dev/sdb? /dev/sdc? Did I just nuke my boot drive? The lsblk command in Linux saved me that night, and it’s been the very first thing I run on every new server, VM, and Raspberry Pi since. If you touch storage at all on Linux, you need this command burned into muscle memory.
This guide walks through exactly what lsblk does, how to read its output, the flags that actually matter in real sysadmin work, and the mistakes I see people make over and over (including ones I’ve made myself). By the end, you’ll never run fdisk blind again.
Quick Answer: What Does lsblk Do?
lsblk lists all block devices attached to your Linux system in a clean tree format — disks, partitions, LVM volumes, USB sticks, and loop devices. It reads from sysfs and udev, doesn’t require root for basic use, and is the safest way to inspect storage layout before you partition or mount anything.
What Is lsblk?
The name is dead simple: list block devices. It ships with the util-linux package, which is pre-installed on essentially every Linux distribution you’ll ever touch — Debian, Ubuntu, RHEL, Arch, Alpine, you name it. Karel Zak maintains util-linux upstream, and you can read the official lsblk man page for the full reference.

Get a VPS from as low as $19.95/year! WOW!
What makes lsblk fast and safe is where it gets its data. It doesn’t poke the disks themselves. It reads from /sys (the sysfs pseudo-filesystem) and the udev database. That means no spinning up sleeping drives, no risk of accidentally writing anything, and no need for root for the basic stuff. Compare that to old-school approaches like cat /proc/partitions or digging through /sys/block by hand. lsblk just gives you a tree.
What Is a Block Device?
A block device is anything that stores data in fixed-size chunks called blocks. That covers spinning hard drives, SSDs, NVMe drives, USB thumb drives, SD cards, LVM logical volumes, LUKS encrypted containers, and even loop devices like the squashfs files Snap uses on Ubuntu. If you want a deeper dive into the underlying concepts, DigitalOcean has a solid intro to Linux storage terminology and concepts.
Where Does lsblk Come From?
It’s part of the util-linux suite, which is one of those foundational packages most distros consider non-removable. If you ever find yourself on a system without lsblk, something is very wrong — or you’re inside a stripped-down container. Either way, apt install util-linux or dnf install util-linux brings it back.
lsblk vs df vs fdisk: Know When to Use Each
I see this confusion constantly in forums. People reach for fdisk when all they wanted was a quick look at what’s plugged in. Don’t be that person. Here’s how the three tools actually relate:
- lsblk: See what devices exist and how they’re structured. Read-only, no root needed, never writes anything.
- df: See how much space is used and free on mounted filesystems. The df command for disk space answers “am I full?” — not “what’s connected?”
- fdisk: Modify partition tables. Requires root. Can absolutely destroy your data if you fat-finger it. Only reach for it when you actually need to use fdisk to partition the disk.
The natural workflow goes: lsblk first to identify what’s there, then partition with fdisk or parted, then format with mkfs, then mount the partition. lsblk is always step one. If you want the full picture, my complete disk partitioning guide walks through the entire pipeline. And when you just need to check disk usage in Linux, df and lsblk together are usually all you need.
Basic lsblk Output Explained
Run lsblk with no arguments on a typical machine and you’ll see something like this:
NAME        MAJ:MIN RM   SIZE RO TYPE MOUNTPOINTS
sda           8:0    0 931.5G  0 disk
├─sda1        8:1    0   512M  0 part /boot/efi
├─sda2        8:2    0     1G  0 part /boot
└─sda3        8:3    0   930G  0 part
  └─cryptlvm 254:0    0   930G  0 crypt
    ├─vg-root 254:1    0   100G  0 lvm  /
    └─vg-home 254:2    0   830G  0 lvm  /home
nvme0n1     259:0    0   1.8T  0 disk
└─nvme0n1p1 259:1    0   1.8T  0 part /mnt/data
Reading the Tree Structure
Those box-drawing characters aren’t just decoration. They show the parent-child relationships. sda is a physical disk. sda1, sda2, sda3 are its partitions. cryptlvm is a LUKS encrypted layer sitting on sda3, and inside that LUKS container live two LVM logical volumes for root and home. That’s a whole encrypted stack rendered in like seven lines.
Understanding Each Column
Here’s what each column actually means:
- NAME: Device name. Indented by tree depth.
- MAJ:MIN: Major and minor numbers the kernel uses internally. Major 8 = SCSI/SATA, 259 = NVMe, 7 = loop, 254 = device-mapper.
- RM: Removable. 1 means yes (USB stick), 0 means no.
- SIZE: Human-readable size.
- RO: Read-only flag. 1 means the kernel sees it as read-only.
- TYPE: disk, part, lvm, crypt, rom, loop. Tells you what layer you’re looking at.
- MOUNTPOINTS: Where it’s mounted, if anywhere.
Quick note on naming: nvme0n1 looks weird if you’re used to sda/sdb. It decodes as “NVMe controller 0, namespace 1.” Partitions on it get a p prefix — nvme0n1p1, not nvme0n11.
And those loop0, loop1, loop2 entries cluttering your Ubuntu output? Those are Snap packages mounted as squashfs files. They’re not real disks, just files presented as block devices. We’ll fix that mess in the next section.
Essential lsblk Options with Examples
Default output is fine for a quick eyeball check. For real work, you’ll want these flags.
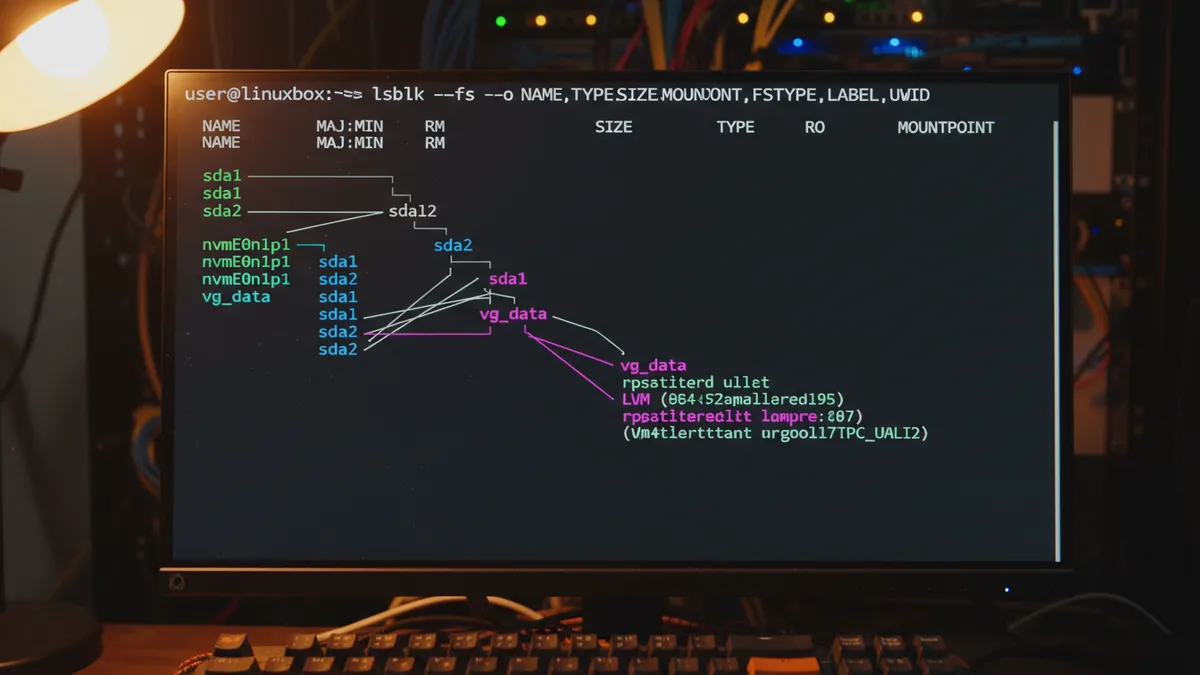
lsblk -f (Filesystem Info: UUID, Type, Label)
This is the flag I use ten times a day. It shows filesystem type, label, UUID, and mountpoint:
$ lsblk -f
NAME    FSTYPE      LABEL  UUID                                 MOUNTPOINTS
sda
├─sda1  vfat        EFI    1234-ABCD                            /boot/efi
├─sda2  ext4        boot   a1b2c3d4-...                         /boot
└─sda3  crypto_LUKS        e5f6g7h8-...
That UUID column is gold. It’s what you should be putting in your /etc/fstab configuration, never /dev/sdX. More on why in a second.
lsblk -o (Custom Columns)
Pick exactly the columns you want, in the order you want:
$ lsblk -o NAME,SIZE,FSTYPE,UUID,MOUNTPOINTSThis is the flag you should reach for in every script you write. The default columns can change between util-linux versions, and a script that parses default output by position is a script that breaks silently on the next system upgrade.
lsblk -J (JSON Output for Scripting)
For when you want to pipe to jq or feed lsblk into Python:
$ lsblk -J -o NAME,SIZE,TYPE,MOUNTPOINTS | jq '.blockdevices[] | select(.type=="disk")'I use this in backup scripts to verify the external drive is actually attached before kicking off rsync. Speaking of which, if you want to set up automatic Linux backups, JSON output from lsblk is a clean way to gate the script.
lsblk -l (Flat List, No Tree)
Drops the tree structure for a flat list. Easier to grep, easier to feed into other tools:
$ lsblk -l | grep partlsblk -a (Show All Including Empty Devices)
Shows everything, including empty card readers and loop devices that the default output hides. Useful when something should be there and isn’t showing up.
lsblk -m (Permissions and Ownership)
Shows owner, group, and mode for each device node. I almost never use this, but the one time you need to debug why your user can’t read /dev/sdb, you’ll be glad it exists.
lsblk -d (Disks Only, Skip Partitions)
Just whole disks, no partition clutter. Perfect for a clean hardware inventory:
$ lsblk -d -o NAME,SIZE,MODEL,SERIALPro Tip: Hide Loop Devices
Tired of Snap loop devices polluting your output on Ubuntu? Use lsblk -e 7 to exclude major number 7 (loop devices). Add alias lsblk='lsblk -e 7' to your ~/.bashrc and never see them again.
Real-World Use Cases Every Sysadmin Needs
Identifying a Newly Attached Disk
Run lsblk, plug the drive in, run lsblk again, diff the output. The new device is your target. This sounds obvious until you’re staring at twelve drives in a server chassis at 2 a.m. and need to be certain which one is the new one before you mkfs it.
Finding UUIDs for /etc/fstab
This is the canonical use case. lsblk -f hands you the UUID directly. Drop it into fstab like this:
UUID=a1b2c3d4-... /mnt/data ext4 defaults,noatime 0 2Why UUID and not /dev/sdb1? Because device names are not stable. Boot the same machine twice and your sdb can swap with sdc depending on which drive the kernel enumerates first. UUIDs are tied to the filesystem itself and never change.
Checking LVM Logical Volumes
The lsblk tree shows lvm entries inline with everything else. You can see at a glance which volume group sits on which physical disks. If you’re new to volume management, my guide on LVM logical volumes covers the full setup. lsblk also flags crypt type entries, which is how I verify LUKS disk encryption is actually active before I trust a “secured” laptop.
Using JSON Output in Scripts
Here’s a snippet I use to bail out of a backup script if the backup drive isn’t mounted:
if ! lsblk -J -o LABEL,MOUNTPOINTS | jq -e '.blockdevices[] | select(.label=="BACKUP")' > /dev/null; then
  echo "Backup drive not connected, aborting."
  exit 1
fi
For enterprise environments, the Red Hat RHEL storage management documentation uses lsblk as the primary inspection command for the same reasons — it’s safe, fast, and machine-parseable.
Common Mistakes to Avoid
I’ve seen (and made) all of these. Don’t repeat my pain.
- Hardcoding /dev/sda in scripts: Device names shuffle between reboots, especially with USB drives or cloud volume reattachments. Always use UUID or LABEL.
- Trusting default columns in scripts: Pin them with
-o. Future-you will thank present-you. - Confusing loop devices with real disks: Especially on Ubuntu with Snap. Use
-e 7or check the TYPE column. - Expecting filesystem info on unformatted partitions:
lsblk -fshows blank FSTYPE for partitions that haven’t been mkfs’d yet. That’s not a bug. - Reaching for fdisk when lsblk would do: This is the
rm -rfwhenlswould have answered the question. Read first, write later.
lsblk Quick Reference Cheat Sheet
Bookmark this table. It covers 95% of what you’ll ever need:
| Command | What It Does |
|---|---|
lsblk |
Default tree view of all block devices |
lsblk -f |
Show filesystem type, label, UUID, and mountpoints |
lsblk -o NAME,SIZE,FSTYPE,UUID,MOUNTPOINTS |
Custom columns (use this in scripts) |
lsblk -J |
JSON output for scripting with jq or Python |
lsblk -l |
Flat list, no tree — easier to grep |
lsblk -d |
Disks only, skip partitions |
lsblk -a |
Show all devices including empty ones |
lsblk -e 7 |
Exclude loop devices (Snap clutter) |
lsblk /dev/sda |
Limit output to one specific device |
“lsblk reads the sysfs filesystem and udev db to gather information. If the udev db is not available or lsblk is compiled without udev support, then lsblk tries to read LABELs, UUIDs and filesystem types from the block device.” — Karel Zak, util-linux maintainer
Frequently Asked Questions
Do I need root to run lsblk?
No. Basic lsblk output works for any user because it reads from sysfs and udev, both of which are world-readable. A few flags like -m may need root to show full ownership info, but you’ll never need sudo just to inspect your storage layout.
Why does lsblk show loop devices on Ubuntu?
Snap packages mount their squashfs files as loop devices, which are real block devices from the kernel’s perspective. Use lsblk -e 7 to filter them out. Major number 7 is the loop device class.
What’s the difference between sda and nvme0n1?
sda is a SCSI/SATA disk (major number 8). nvme0n1 is an NVMe drive (major 259) — the naming reflects the controller and namespace. Functionally they’re both block devices, just attached over different buses.
Can lsblk damage my disks?
No. lsblk is purely read-only and reads from kernel structures, not the disks themselves. It’s the safest storage inspection tool you have. The danger comes when people skip lsblk and run fdisk or mkfs on the wrong device.
Wrap-Up: Make lsblk Your Reflex
Every time you touch storage on a Linux box — new server, fresh USB stick, weird VM, full disk — your first instinct should be lsblk -f. It’s free, it’s safe, and it tells you exactly what you’re working with. Skipping it is how partitions get nuked and weekends get ruined.
Once you’ve mapped your storage with lsblk, the next steps depend on what you’re trying to do. If you’re trying to figure out what’s eating space, pair it with the du command to find large files. If your disk is full and you need a rescue plan, my walkthrough on how to diagnose a full Linux disk picks up where lsblk leaves off. And if you’re chasing performance issues rather than space issues, vmstat for memory and I/O stats is the natural follow-up tool.
Got a Linux question you’d like me to write a deep-dive on next? Browse the rest of the Linux guides on the site, and if there’s a command or workflow you keep tripping over, that’s exactly the kind of thing I love turning into a tutorial.


