
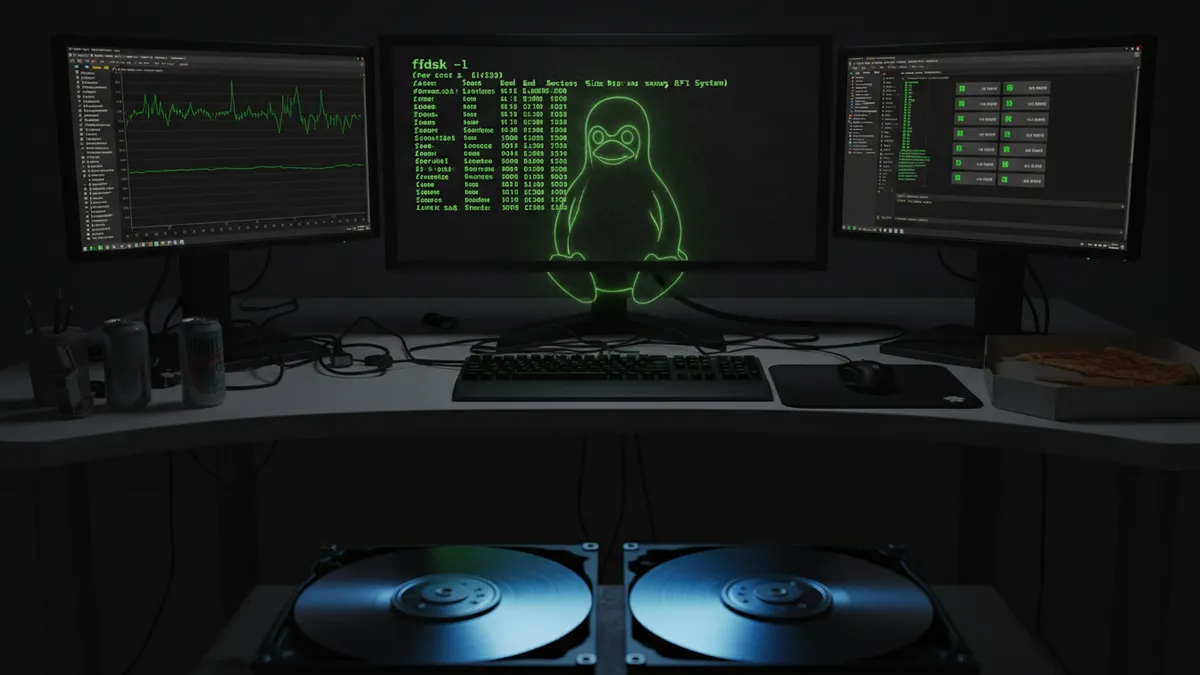
If you’ve ever added a new hard drive to a Linux box and stared at a blank terminal wondering what to do next, you need to learn how to use fdisk in Linux. It’s one of the oldest and most reliable disk partitioning tools in the Linux ecosystem. I remember the first time I ran fdisk on my homelab server back in college. I had a fresh 500GB SATA drive, zero clue what I was doing, and way too much confidence. Spoiler: I survived. And by the end of this guide, you’ll know exactly how to partition a disk without the panic I felt that day.
fdisk is a dialog-driven command-line utility included in every major Linux distribution. It handles Master Boot Record (MBR) partition tables and ships as part of the util-linux package. Whether you’re setting up a new data drive, preparing storage for a VM, or carving out space on a homelab server, fdisk gets the job done. For more advanced setups, you might eventually want LVM for flexible storage management, but fdisk is where most of us start.
What Is fdisk (And When Should You Use It)?
fdisk is an interactive partition editor that’s been part of Linux since the early days. According to the fdisk official man page, it’s “a dialog-driven program for creation and manipulation of partition tables.” You run it, answer its prompts, and it writes your changes to the disk’s partition table.
Here’s the key thing most tutorials skip: fdisk only works well with MBR partition tables and disks under 2TB. If you’re working with modern UEFI systems or drives larger than 2TB, you need a different tool. That’s not a flaw. It’s just a scope thing.

Get a VPS from as low as $19.95/year! WOW!
fdisk vs parted vs gdisk: Quick Decision Guide
- fdisk: Best for MBR disks under 2TB on legacy BIOS systems. Simple, interactive, and beginner-friendly.
- gdisk: The fdisk equivalent for GUID Partition Table (GPT) disks. Use this for UEFI systems and drives over 2TB.
- parted: Handles both MBR and GPT. More powerful, but the syntax is less forgiving for beginners.
MBR supports a maximum of 4 primary partitions and a 2TB disk size limit. GPT supports up to 128 partitions and disks up to 9.4 ZB. For most homelab and server tasks on smaller drives, fdisk is still my go-to.
Before You Start: The Pre-Flight Checklist
Partitioning is one of those operations where a single typo can wipe out everything. I learned this the hard way when I accidentally ran fdisk on /dev/sda instead of /dev/sdb on a test machine. Thankfully it was just a lab box, but that sinking feeling in my stomach still haunts me. Don’t skip this checklist.
Pre-Flight Checklist
- Confirm sudo/root access. Only root can modify partition tables.
- Back up your data. Use rsync to back up your data first or set up automatic backups before touching any disk.
- Unmount the target disk. Use lsof to find processes using the disk and stop any services using the disk before unmounting.
- Identify the correct device. Triple-check which
/dev/sdXis your target. Wrong disk = data loss.
Step 1 – List Your Disks and Identify the Target
Before you touch anything, figure out which disk you’re working with. Two commands give you everything you need:
sudo fdisk -l
sudo lsblk
fdisk -l lists every disk and its current partitions with sizes, sectors, and types. lsblk shows a cleaner tree view of block devices. I usually run both and cross-reference them. It takes five extra seconds and has saved me from disaster more than once.
A few things to watch for:
- SATA drives show up as
/dev/sda,/dev/sdb, etc. - NVMe drives use a different naming scheme:
/dev/nvme0n1,/dev/nvme0n1p1 - Match by size to confirm you have the right disk
You can also use the du command to check directory sizes on existing partitions to understand your current storage layout before deciding how to partition the new disk.
Step 2 – Open fdisk in Interactive Mode
Once you’ve identified your target disk, open fdisk on it:
sudo fdisk /dev/sdbReplace /dev/sdb with your actual device. You’ll land in fdisk’s interactive prompt. Here’s the most important thing to know: nothing is written to the disk until you press w. Every change you make lives only in memory. You can experiment, mess up, and press q to quit without saving. No harm done.
Start by printing the current partition table:
Command (m for help): pThis shows you what’s already on the disk. If it’s a brand new drive, you’ll see an empty table. Press m at any time to see the full list of available commands.
Step 3 – Create a New Partition
Now for the main event. Press n to create a new partition:
Command (m for help): n
Partition type:
   p   primary (0 primary, 0 extended, 4 free)
   e   extended
Select (default p): p
Partition number (1-4, default 1): 1
First sector (2048-104857599, default 2048): [Enter]
Last sector (2048-104857599, default 104857599): +20G
Here’s what each prompt means:
- Partition type: Choose
pfor primary. MBR allows a max of 4 primary partitions. If you need more, create an extended partition and add logical partitions inside it. - Partition number: Just accept the default for your first partition.
- First sector: Accept the default. fdisk picks the right starting point.
- Last sector: This is where you set the size. Use
+20Gfor 20 gigabytes, or hit Enter to use all remaining space.
If you’re creating a swap partition, you’ll also need to change the type. Press t and enter 82 for Linux swap. You can then add a swap partition properly once it’s formatted.
Step 4 – Write Changes and Exit
You’ve created your partition. Now comes the moment of truth. Press w to write the changes to disk:
Command (m for help): w
The partition table has been altered.
Syncing disks.
“Writing changes to the wrong disk is one of the quickest ways to cause catastrophic data loss. Always double-check your target device before running fdisk.” – Red Hat Enterprise Linux Storage Administration Guide
This is permanent and irreversible. If you’re not sure, press q instead to quit without saving.
After writing, tell the kernel about the new partition table without rebooting:
sudo partprobe /dev/sdbMost tutorials skip this step. Without it, the kernel might not see your new partition until you reboot. partprobe saves you that hassle.
Step 5 – Format the New Partition
A new partition is just empty space until you put a filesystem on it. For most Linux workloads, ext4 is the safe default:
sudo mkfs.ext4 /dev/sdb1If you’re working with large files or running a Red Hat/CentOS-based system, xfs is a solid alternative:
sudo mkfs.xfs /dev/sdb1Never skip the formatting step. An unformatted partition can’t be mounted or used normally. I’ve seen people in forums confused about why their new partition “doesn’t work” only to realize they never ran mkfs. It happens more than you’d think.
Step 6 – Mount the Partition and Make It Permanent
Now mount the freshly formatted partition:
sudo mkdir -p /mnt/data
sudo mount /dev/sdb1 /mnt/data
For a deeper dive on mount options and flags, check out our guide on how to mount a disk in Linux. But there’s one more critical step: making the mount survive a reboot.
First, grab the UUID of your new partition:
sudo blkid /dev/sdb1Then add it to /etc/fstab:
UUID=your-uuid-here /mnt/data ext4 defaults 0 2Why UUIDs Matter
Never use device names like /dev/sdb1 in fstab. Device names can shift between reboots, especially when you add or remove drives. UUIDs are tied to the filesystem itself and stay consistent. I’ve debugged more boot failures from wrong fstab device names than I care to admit.
After editing fstab, verify it works without rebooting:
sudo mount -aThen use the df command to verify the mount is active and showing the correct size. You can also check disk usage to confirm everything looks right.
Quick fdisk Command Reference
| Key | Action |
|---|---|
m |
Show help menu |
p |
Print current partition table |
n |
Create a new partition |
d |
Delete a partition |
t |
Change partition type (82=swap, 83=Linux, 8e=LVM) |
w |
Write changes to disk and exit (irreversible) |
q |
Quit without saving changes |
Keep this table bookmarked. When you’re inside the fdisk prompt and your mind goes blank, press m and you’ll get the same info. But having it here for quick reference doesn’t hurt.
Common fdisk Mistakes (And How to Avoid Them)
- Wrong device: Always run
lsblkbeforesudo fdisk /dev/sdX. Verify the disk size matches what you expect. - Forgetting to press
w: Your changes live only in memory until you write them. If you close the terminal, everything is lost. - Using device names in fstab: Use UUIDs from
blkidinstead. Device names like/dev/sdb1can change between reboots. - Skipping fstab entirely: Your mount disappears after the next reboot. Always add a fstab entry.
- Not running partprobe: After writing changes, run
sudo partprobe /dev/sdXso the kernel picks up the new partition table immediately.
Wrapping Up
Learning how to use fdisk in Linux is a foundational sysadmin skill. The workflow is simple once you’ve done it a few times: identify the disk, open fdisk, create partitions, write changes, format, mount, and persist with fstab. The tool itself is straightforward. The danger is always in picking the wrong disk or skipping the persistence step.
If you found this useful and you’re building out your Linux skills, I’d recommend diving into these next:
- LVM for flexible storage management takes partitioning to the next level with resizable volumes.
- How to mount a disk in Linux covers advanced mount options beyond the basics.
- Set up automatic backups so you’re protected before your next partitioning adventure.
Got questions or a horror story about running fdisk on the wrong disk? I’ve been there. Drop a comment below.


