There’s a particular kind of panic that hits when a production server runs out of disk space at 2 AM. I’ve been there more times than I’d like to admit. The good news? A simple command could have warned me hours earlier. The df command in Linux is your first line of defense against disk space disasters.
Whether you’re managing a single server or dozens of them, understanding how to check disk space quickly becomes second nature. Let me walk you through everything you need to know about df, from basic usage to the troubleshooting tricks that have saved me countless headaches.
What is the df Command in Linux?
The df command stands for “disk free.” It reports how much disk space is available on mounted filesystems. Think of it as your quick health check for storage across your entire system.
When you run df, it pulls information directly from the kernel’s filesystem statistics. This happens through a system call called statfs, which queries each mounted filesystem for its current state. The result is an instant snapshot of your storage situation.
Understanding ‘Disk Free’ vs ‘Disk Usage’
Here’s where things get interesting. The df command shows you the filesystem-level view of disk space. It tells you how much total space a partition has, how much is used, and how much remains available.

Get a VPS from as low as $11/year! WOW!
If you need to check disk usage in Linux at the directory level, that’s where the du command comes in. But we’ll get to that comparison shortly.
How df Reads Filesystem Information
When df runs, it doesn’t actually scan your files. Instead, it asks the kernel for filesystem statistics. The kernel maintains this metadata about each mounted filesystem, including total blocks, used blocks, and free blocks.
This is why df runs so fast. Whether you have 100 files or 10 million files, df returns results almost instantly. It’s reading metadata, not counting files. For deeper technical details, the Linux kernel filesystem documentation explains how different filesystem types handle this.
When You Need df Instead of Other Tools
Use df when you want the big picture. It answers questions like:
- How full is my root partition? Critical for system stability.
- Which mount points have space issues? Helps identify problem areas fast.
- What filesystem types am I running? Useful for troubleshooting.
For anything related to disk partitioning or understanding your storage layout, df gives you that instant overview.
Basic df Command Syntax and Usage
The basic syntax is straightforward:
df [options] [filesystem]Running df without any arguments shows all mounted filesystems. Let’s see what that looks like.
The Default df Output Explained
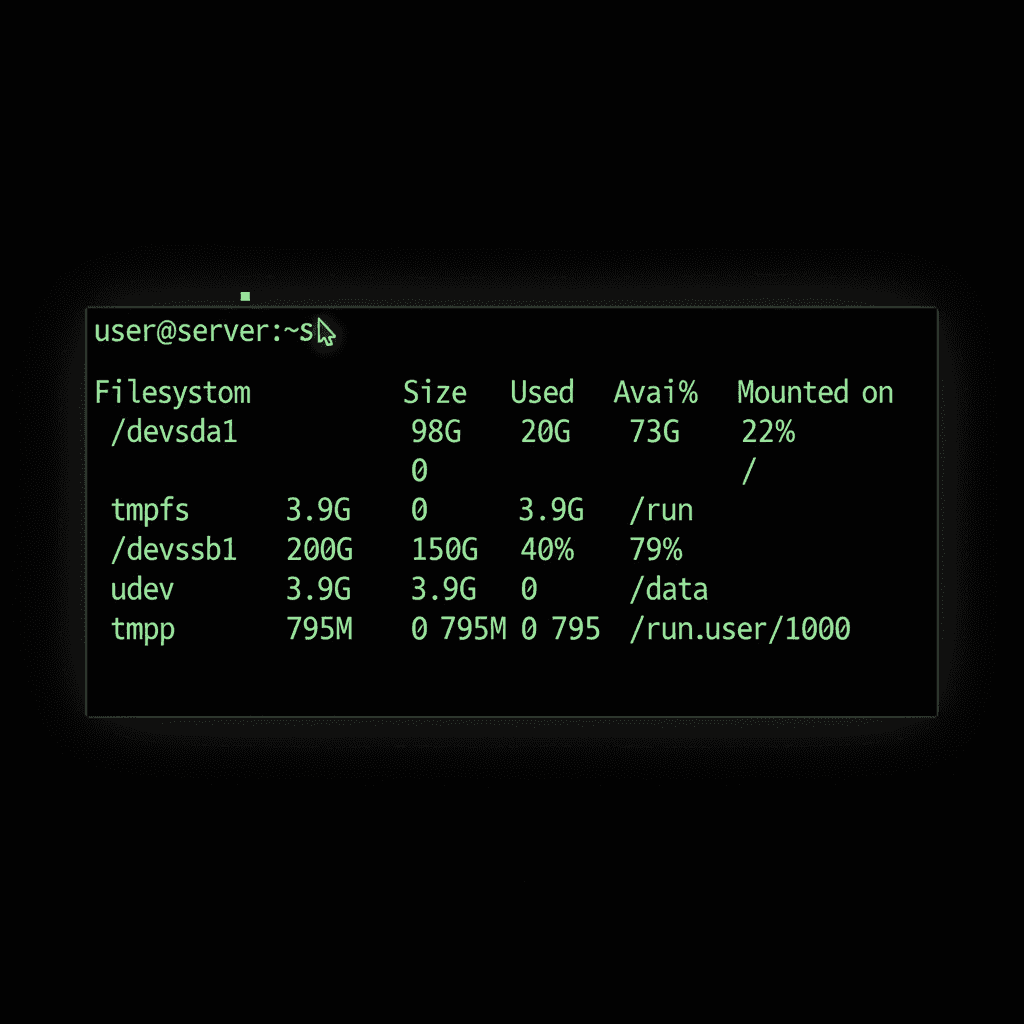
Type df and hit enter. You’ll see something like this:
Filesystem     1K-blocks      Used Available Use% Mounted on
/dev/sda1      102400000  45678912  51234567  48% /
/dev/sdb1      512000000 234567890 277432110  46% /data
tmpfs            8192000         0   8192000   0% /dev/shm
Not the friendliest output, right? Those numbers are in 1K blocks by default. We’ll fix that with options in a moment.
Understanding Each Column in df Output
What each column means:
- Filesystem: The device or partition name
- 1K-blocks: Total size in 1024-byte blocks
- Used: Space currently occupied
- Available: Space you can actually use
- Use%: Percentage of space consumed
- Mounted on: Where the filesystem is accessible in your directory tree
Notice that Used plus Available doesn’t always equal total size. That’s because of reserved space, which we’ll cover in the troubleshooting section.
Essential df Command Options You’ll Actually Use
The df manual page lists many options, but here are the ones that matter for daily work.
Human-Readable Format (-h): Your Go-To Option
This is the option you’ll use 99% of the time:
df -hOutput becomes instantly understandable:
Filesystem      Size  Used Avail Use% Mounted on
/dev/sda1        98G   44G   49G  48% /
/dev/sdb1       489G  224G  265G  46% /data
GB and MB instead of blocks. Much better.
Show Filesystem Type (-T)
Need to know if you’re running ext4, xfs, or something else?
df -TThis adds a Type column showing the filesystem format. Useful when troubleshooting performance issues or checking if a mount is what you expect.
Check Inode Usage (-i)
This one has saved me more than once:
df -iInodes are the data structures that store file metadata. Every file needs one. You can have plenty of disk space but zero free inodes, and the system will still report “No space left on device.” It’s a common gotcha with mail servers or systems that create many small files.
Display All Filesystems (-a)
By default, df skips pseudo-filesystems like /proc and /sys. Use -a to show everything:
df -aMostly useful for debugging or understanding your full system layout.
Show Grand Total (–total)
Want a summary line at the bottom?
df -h --totalAdds a total row showing combined usage across all filesystems. Handy for quick capacity planning.
Real-World df Command Examples
Theory is nice, but let’s get practical.
Check Disk Space for a Specific Directory
Want to know the space on the filesystem containing /var/log?
df -h /var/logThis shows only the filesystem where that directory lives. No need to find it manually in a long list.
Monitor Root Partition Space
Your root partition is critical. When it fills up, bad things happen:
df -h /Keep an eye on this one. If you’re dealing with a full disk, our guide on troubleshooting full disks covers what to do next.
Exclude Specific Filesystem Types
Don’t care about tmpfs entries cluttering your output?
df -h -x tmpfs -x devtmpfsThis excludes temporary filesystems, showing only your real storage.
Combining Options for Better Output
My personal favorite combination:
df -hT -x tmpfs -x devtmpfsHuman-readable sizes, filesystem types shown, and no temporary filesystem noise. Clean and useful.
df vs du: Understanding the Difference
If you’ve ever wondered why df and du show different numbers, you’re not alone. This confusion trips up even experienced admins.
When df and du Show Different Numbers
Here’s the key difference:
- df shows what the kernel reports as filesystem usage
- du actually traverses directories and sums up file sizes
These can differ for several reasons. The most common? Deleted files that are still held open by a running process. The file is “deleted” from the directory, but the disk blocks aren’t freed until the process closes the file.
Using Both Commands Together for Troubleshooting
When troubleshooting disk space, I follow this pattern:
- Run df -h to identify which filesystem is full
- Use du to find which directories are consuming space
- Check for deleted files if numbers don’t add up
The find command can also help locate large files once you’ve identified the problem area.
Troubleshooting Common df Command Issues
Let’s tackle the problems that make sysadmins lose sleep.
Why Deleted Files Don’t Free Up Space
You deleted a 10GB log file, but df still shows the disk as full. Sound familiar?
This happens when a process has the file open. The file is removed from the directory listing, but the actual disk blocks remain allocated until the process releases the file handle.
To find these phantom files, use the lsof command:
lsof +L1This shows all deleted files still held open. Restarting the offending process frees the space.
Solving Inode Exhaustion Problems
If df -h shows free space but you can’t create files, check inodes:
df -iWhen IUse% hits 100%, you’ve run out of inodes. This typically happens with:
- Mail servers storing millions of small messages
- Cache directories with countless tiny files
- Applications that create excessive temporary files
The fix? Delete unnecessary files or add more storage formatted with more inodes.
Understanding Reserved Space for Root
Ever notice that df shows your disk as 95% full but “Available” is zero? That’s reserved space at work.
By default, ext4 filesystems reserve 5% of space for the root user. This prevents regular users from completely filling a disk and crashing system processes. On a 1TB drive, that’s 50GB reserved just for root.
You can adjust this with tune2fs, but think carefully before reducing it on system partitions.
Fixing Discrepancies Between df and du
Quick troubleshooting checklist:
- Check for deleted files:
lsof +L1 - Look for hidden files:
du -sh /path/.* - Verify mount points: files written before mounting filesystems in Linux can hide under mount points
- Sync and clear caches:
syncforces pending writes
Practical Tips for Monitoring Disk Space with df
Prevention beats firefighting. Here’s how to stay ahead of disk space issues.
Setting Up Automated Monitoring
For real-time monitoring, the watch command for real-time monitoring is perfect:
watch -n 60 'df -h'This refreshes the df output every 60 seconds. Great for watching disk usage during large file operations.
Creating Disk Space Alerts
For production systems, set up automated checks. Here’s a simple approach using scheduling cron jobs:
#!/bin/bash
THRESHOLD=80
df -h | awk -v threshold="$THRESHOLD" 'NR>1 && int($5) > threshold {print}'
Run this via cron every hour. Pipe the output to your monitoring system or email.
Best Practices for Production Systems
- Set alerts at 80% usage. This gives you time to react before problems hit.
- Check before major installations. A quick
df -hprevents failed installs from partial writes. - Monitor both space and inodes. Either can cause “disk full” errors.
- Review monthly trends. Slow growth catches up fast.
Mastering df for Daily Linux Administration
The df command in Linux is deceptively simple. Type four characters, and you get a complete picture of your storage health. But as we’ve seen, there’s depth beneath that simplicity.
Start with df -h for daily checks. Add -T when troubleshooting. Remember df -i when things don’t add up. And when a disk fills up unexpectedly, you now have the knowledge to track down exactly what’s consuming that space.
Disk space issues will keep happening. Logs grow, caches expand, and users upload more than expected. But with df as part of your regular workflow, those 2 AM panics become far less common. I speak from experience on that one.