How to Use openssl in Linux: The Command Every Sysadmin Needs
Learn how to use the openssl command in Linux for certificate inspection, key generation, SSL testing, and file encryption. Complete sysadmin guide with examples.

In this article
If you manage any Linux server that handles HTTPS, email, or VPN traffic, you need to know how to use the openssl command in Linux. It’s not optional. OpenSSL is the Swiss Army knife of cryptography on Linux, and it handles everything from inspecting certificates to generating keys and encrypting files. I use it almost daily, and once you learn the core commands, you will too.
This guide covers the essential openssl commands every sysadmin should have committed to muscle memory. We’ll walk through certificate inspection, key generation, file encryption, and a few tricks that have saved me hours of troubleshooting. If you’ve ever been involved in troubleshooting network issues in Linux, you already know that SSL problems are some of the trickiest to debug. The right openssl commands make them manageable.
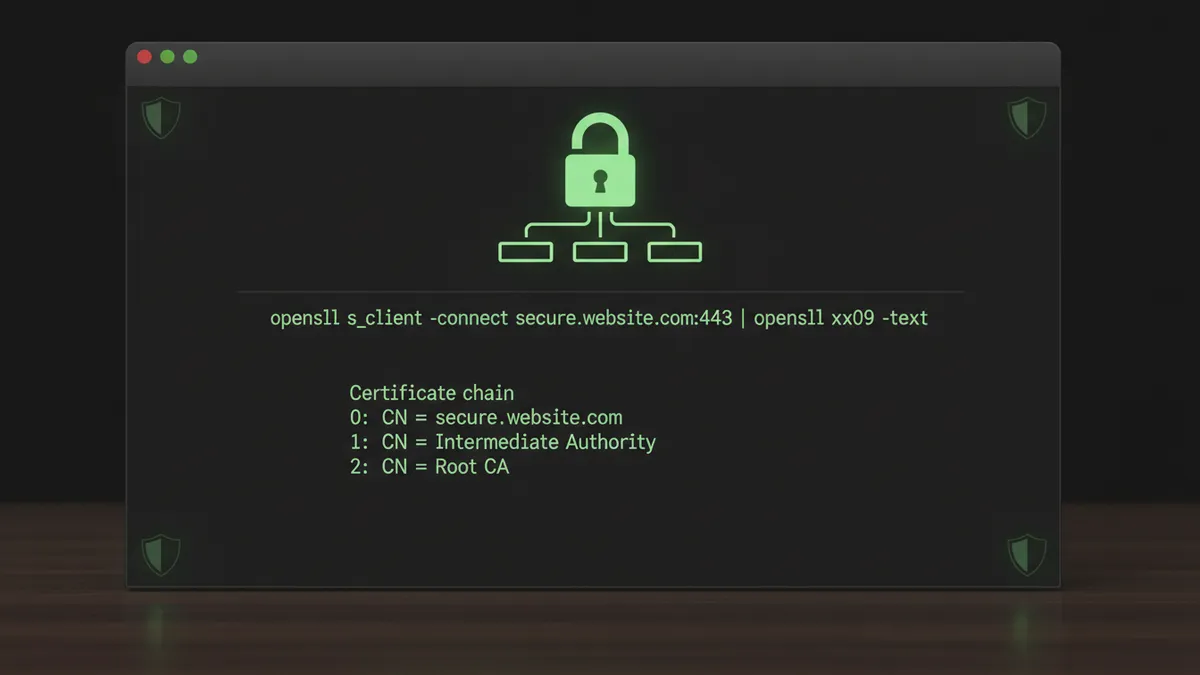
What Is OpenSSL (And Why Every Linux Admin Needs It)
OpenSSL is an open-source cryptographic toolkit that implements TLS/SSL protocols. On Linux, it’s the engine behind nearly every encrypted connection your server makes. Your web server, mail server, VPN, and database connections all rely on it.
“The OpenSSL toolkit is the fundamental utility that any systems administrator must know if they are responsible for maintaining TLS-protected applications.” — Anthony Critelli, Linux Systems Engineer, Red Hat Enterprise Linux Security Guide on OpenSSL
I remember the exact moment openssl became permanently burned into my brain. It was around 2 AM, and my homelab Nginx instance had stopped serving HTTPS. My self-signed cert had quietly expired, and I had no monitoring in place. I was scrambling through man pages, trying to figure out how to even look at the certificate, let alone fix it. That late-night panic session taught me more about openssl than any tutorial ever could.
Check if openssl is installed on your system:
openssl versionYou should see something like OpenSSL 3.0.x on modern distros. If it’s not installed:
# Debian/Ubuntu
sudo apt install openssl

# RHEL/CentOS/Fedora
sudo dnf install openssl
OpenSSL works alongside other security tools in your stack. If you’re already familiar with SSH tunneling in Linux or securing your Linux server with fail2ban, think of openssl as the cryptographic foundation those tools build on.
Inspect and Check Certificates with openssl
Certificate inspection is probably the single most common reason you’ll reach for openssl. Whether you’re diagnosing why a site shows a security warning or verifying a deployment, these commands are essential.
Check a Remote Server’s SSL Certificate
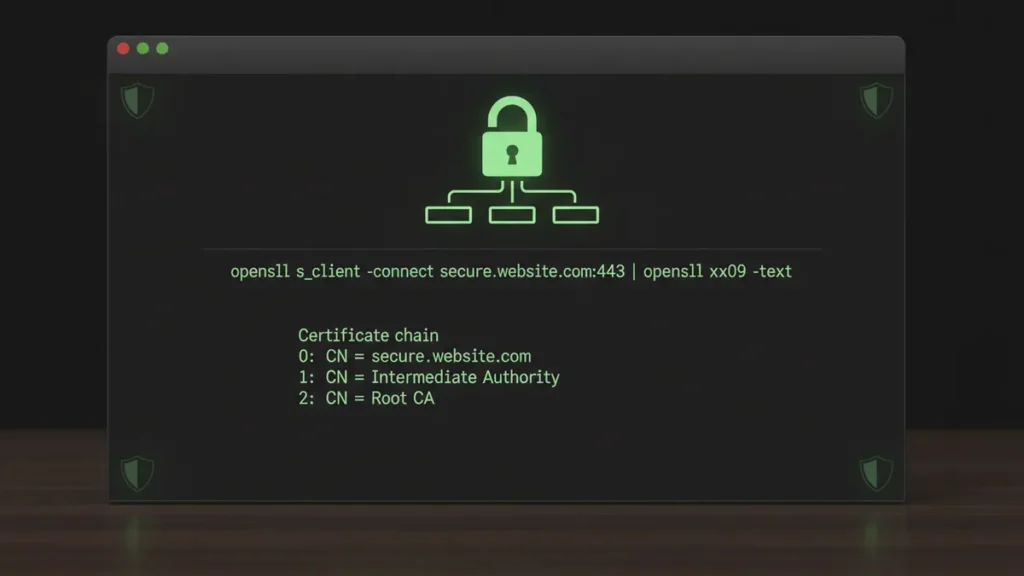
To pull the full certificate from a remote server:
openssl s_client -connect example.com:443 -servername example.com </dev/nullQuick Tip: Don’t Forget the SNI Flag
The -servername flag enables SNI (Server Name Indication). Without it, you might get the wrong certificate on servers that host multiple domains. Most modern servers use SNI, so always include it.
This is a key command in the troubleshooting network issues in Linux toolkit. While the curl command in Linux can also test HTTPS connections with curl -v, openssl s_client gives you much deeper visibility into the SSL handshake and certificate chain. You can even pair it with nmap for network scanning when you need to audit certificates across an entire network using nmap --script ssl-cert.
Inspect a Local Certificate File
If you have a certificate file on disk, inspect its full details:
openssl x509 -in cert.pem -text -nooutThis shows the issuer, validity dates, Subject Alternative Names (SANs), and signature algorithm. It’s the first thing I run when someone hands me a cert file and says “something’s wrong.”
Check Certificate Expiration Date
Need to quickly check when a certificate expires?
openssl x509 -enddate -noout -in cert.pemFor a remote server, combine s_client and x509 in a one-liner:
echo | openssl s_client -connect example.com:443 2>/dev/null | openssl x509 -noout -enddateWhy This Matters Now
The CA/Browser Forum is moving toward 47-day certificate lifetimes by 2029. Automated expiration monitoring with openssl isn’t optional anymore. Build these checks into your scripts now, before short-lived certs become the default.
Generate Private Keys and Certificates
Generating keys and certificates is the other half of the openssl workflow. Whether you’re deploying to production or spinning up a test environment in your homelab, these commands cover the process end to end.
Generate an RSA Private Key
openssl genrsa -out private.key 2048Use 2048-bit minimum for RSA keys. For high-security environments, bump it to 4096. If you want to password-protect the key:
openssl genrsa -aes256 -out private.key 2048After generating your key, always lock down the permissions. If you need a refresher on how that works, check out my guide on Linux file permissions.
chmod 600 private.keyIf you’re familiar with generating SSH keys in Linux, the concept is identical: you’re creating a public/private key pair. The difference is that openssl keys are used for TLS certificates rather than SSH authentication.
Create a Certificate Signing Request (CSR)
A CSR is what you submit to a Certificate Authority to get a signed certificate:
openssl req -new -key private.key -out request.csrYou’ll be prompted for your country, organization, and Common Name (your domain). To verify the CSR before submitting:
openssl req -text -noout -in request.csrGenerate a Self-Signed Certificate
For homelab environments, development servers, or internal tools, a self-signed cert gets you encrypted connections without involving a CA:
openssl req -x509 -newkey rsa:4096 -keyout key.pem -out cert.pem -days 365 -nodesThe -nodes flag skips passphrase encryption on the key, which is convenient for automated services. Once generated, you can deploy these to your web server. If you’re running Nginx, my guide on setting up Nginx on Linux walks through the SSL configuration step by step.
Encrypt and Decrypt Files with openssl enc
This is one of those openssl features that doesn’t get enough attention. The enc subcommand handles symmetric encryption, and it’s perfect for protecting sensitive files before transferring or storing them.
To encrypt a file:
openssl enc -aes-256-cbc -pbkdf2 -in secret.txt -out secret.encTo decrypt it:
openssl enc -d -aes-256-cbc -pbkdf2 -in secret.enc -out secret.txtSecurity Note
Always include the -pbkdf2 flag. This uses a stronger key derivation function. Older tutorials often omit it, which results in weaker encryption. If your openssl version supports it (3.x does), use it every time.
This pairs well with your backup workflow. If you’ve set up automatic backup setup in Linux, you can encrypt your backup archives with openssl before pushing them offsite. Combine that with the SCP command for secure file transfer, and you’ve got encrypted files moving through an encrypted tunnel. Belt and suspenders.
Generate Secure Random Strings
Need a strong password, API key, or session secret? OpenSSL has you covered:
# Base64-encoded (great for passwords)
openssl rand -base64 32

# Hex-encoded (great for tokens and secrets)
openssl rand -hex 32
I use openssl rand constantly. Database passwords, JWT secrets, API keys for internal services — any time I need something random and cryptographically strong, this is faster than any password generator.
It integrates cleanly into automation too. If you’re writing bash scripts in Linux, you can assign random values inline:
DB_PASSWORD=$(openssl rand -hex 32)
echo "Generated password: $DB_PASSWORD"
Verify a Certificate and Private Key Match
This one has saved me more than once. You’ve deployed a certificate and key to Nginx, but the server won’t start. The error message is cryptic. The problem? Your cert and key don’t match. They were generated separately, or someone mixed up the files.
Here’s how to verify they belong together:
# Get the modulus MD5 of the certificate
openssl x509 -noout -modulus -in cert.pem | openssl md5

# Get the modulus MD5 of the private key
openssl rsa -noout -modulus -in private.key | openssl md5

# Get the modulus MD5 of the CSR
openssl req -noout -modulus -in request.csr | openssl md5
If all three MD5 hashes match, your files belong together. If they don’t, you’ve got a mismatch, and you need to regenerate with a matching pair. This is especially critical when setting up Nginx on Linux, where a cert/key mismatch is one of the most common reasons the server refuses to start.
Convert Certificate Formats
Different servers and platforms expect certificates in different formats. Apache and Nginx use PEM. Windows and IIS prefer PFX. Java applications use JKS. Knowing how to convert between them will save you headaches in mixed infrastructure environments.
PEM to DER
# PEM to DER
openssl x509 -in cert.pem -outform DER -out cert.der

# DER to PEM
openssl x509 -in cert.der -inform DER -out cert.pem
PEM to PKCS#12 (PFX)
PKCS#12 bundles your certificate and private key into a single file. This is what Windows servers typically need:
# Create PFX bundle
openssl pkcs12 -export -out cert.pfx -inkey private.key -in cert.pem

# Extract cert from PFX
openssl pkcs12 -in cert.pfx -nokeys -out cert.pem
If you’re deploying across Linux and Windows servers, these conversions come up more often than you’d think. I once spent a frustrating afternoon trying to figure out why a cert worked on our Nginx box but not on a client’s IIS server. Turns out it was a format issue, not a cert issue. Five seconds with openssl pkcs12 would have saved me hours.
Quick openssl Command Reference
Here’s a summary of every key command covered in this guide. Bookmark this section for quick reference.
| Task | Command |
|---|---|
| Check version | openssl version |
| Check remote certificate | openssl s_client -connect HOST:443 -servername HOST |
| Inspect local certificate | openssl x509 -in cert.pem -text -noout |
| Check expiration | openssl x509 -enddate -noout -in cert.pem |
| Generate RSA key | openssl genrsa -out key.pem 2048 |
| Create CSR | openssl req -new -key key.pem -out request.csr |
| Self-signed certificate | openssl req -x509 -newkey rsa:4096 -keyout key.pem -out cert.pem -days 365 -nodes |
| Encrypt file | openssl enc -aes-256-cbc -pbkdf2 -in file -out file.enc |
| Generate random string | openssl rand -base64 32 |
| Verify cert/key match | openssl x509 -noout -modulus -in cert.pem | openssl md5 |
| PEM to PFX | openssl pkcs12 -export -out cert.pfx -inkey key.pem -in cert.pem |
For the full list of subcommands and options, check the OpenSSL official documentation and the OpenSSL command line utilities reference.
Start Using openssl Today
OpenSSL isn’t glamorous, but it’s one of those tools that separates a good sysadmin from someone who’s just hoping things work. Every command in this guide solves a real problem I’ve actually hit in production or in my homelab. The cert/key mismatch check alone has probably saved me a collective week of debugging over the years.
If you’re building out your server security stack, openssl is just one piece. Pair it with a properly configured UFW firewall configuration and you’ve got a solid baseline for any Linux server. And if you’re still getting comfortable with the terminal, my guide on writing bash scripts in Linux will help you automate these openssl commands into your daily workflow.
Pick one section from this guide, open a terminal, and try the commands. That’s genuinely how I learned — one 2 AM emergency at a time. You don’t have to wait for the emergency.