I’ll never forget the first time I logged into a production server that was crawling to a halt. Users were complaining, alerts were firing, and I had no idea what was wrong. That’s when my mentor told me to just type top and hit enter.
Within three seconds, I could see exactly what was eating all the CPU. A runaway Python script was pegged at 99.8% CPU usage, and the fix was simple once I knew what to look for. The top command in Linux gives you a dynamic, real-time view of everything happening on your system – CPU usage, memory consumption, running processes, and system load.
If you’re serious about Linux system administration, learning how to use top effectively is non-negotiable. It’s one of those tools that comes pre-installed on every Linux distribution and has saved my career more times than I can count.
What is the top Command in Linux?
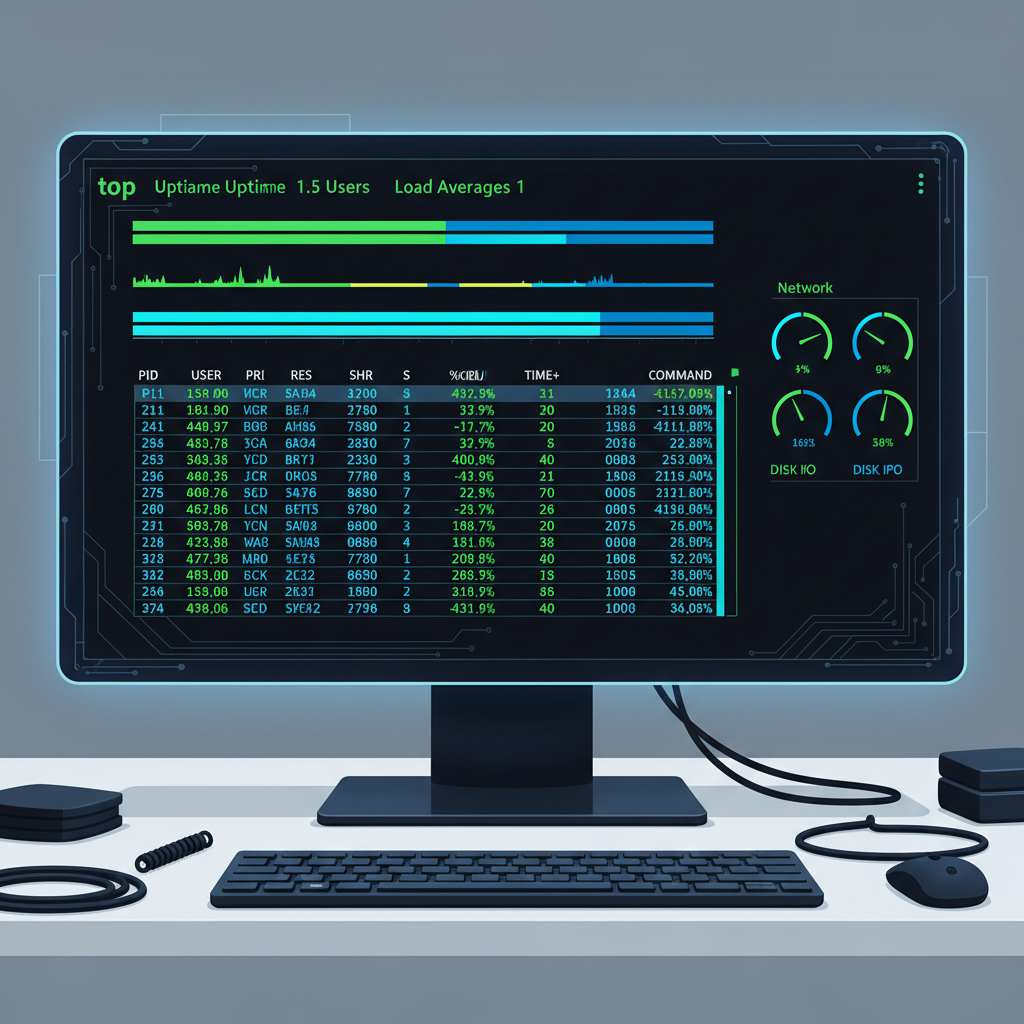
The top command (table of processes) is an interactive process viewer that displays real-time information about your system’s resource usage. Think of it as Task Manager for Linux, but way more powerful and entirely command-line based.
When you run top, it shows you two main areas:

- Summary area: System-wide statistics including uptime, load average, CPU usage, and memory consumption
- Task area: A sortable list of all running processes with details like process ID (PID), user, CPU percentage, memory usage, and command name
By default, top refreshes every three seconds and displays processes sorted by CPU usage. The beauty is that it’s interactive – you can sort, filter, kill processes, and customize the view without ever leaving the interface.
Basic top Command Syntax
The simplest way to use top is just typing the command:
top
This launches top in interactive mode. You’ll see a live-updating dashboard filling your terminal. Press q to quit and return to your shell.
But top also accepts several useful command-line options:
top [options]
Common options I actually use:
-d [seconds]– Change refresh delay (default is 3 seconds)-u [username]– Show only processes from a specific user-p [PID]– Monitor specific process IDs-b– Batch mode for logging output to files-n [number]– Exit after specified number of iterations (useful with -b)
Understanding the top Display
When you first see top’s output, it can look overwhelming. Let me walk you through what you’re actually seeing, starting from the top.
System Summary Lines
The first few lines show critical system-wide information:
Line 1 – System uptime and load average:
top - 14:23:47 up 23 days, 4:12, 3 users, load average: 0.45, 0.62, 0.58
The load average shows three numbers representing system load over the last 1, 5, and 15 minutes. On a single-core system, a load of 1.0 means 100% utilization. On a quad-core system, you’d expect to see numbers around 4.0 at full capacity. If you see load consistently higher than your CPU count, you’ve got a bottleneck.
I wrote a detailed guide on interpreting load average in Linux if you want to understand what these numbers really mean for your system health.
Line 2 – Task statistics:
Tasks: 287 total, 2 running, 285 sleeping, 0 stopped, 0 zombie
This tells you how many processes exist and their current states. Running means actively using CPU right now. Sleeping processes are waiting for something (user input, network data, disk I/O). You rarely want to see stopped or zombie processes – those usually indicate problems.
Line 3 – CPU usage breakdown:
%Cpu(s): 12.5 us, 3.2 sy, 0.0 ni, 84.0 id, 0.1 wa, 0.0 hi, 0.2 si, 0.0 st
This line is gold for troubleshooting. Here’s what each abbreviation means:
us(user): Time spent running user processessy(system): Time spent in kernel operationsni(nice): Time spent on low-priority processesid(idle): CPU doing nothing – higher is usually betterwa(wait): Time waiting for I/O operations like disk readshi(hardware interrupts): Time handling hardware interruptssi(software interrupts): Time handling software interruptsst(steal): Time stolen by hypervisor in virtual environments
If you see high wa values, your bottleneck is disk I/O, not CPU. That’s a completely different troubleshooting path. For pure CPU usage analysis, focus on us and sy.
Lines 4-5 – Memory usage:
MiB Mem :  16045.7 total,   2341.2 free,   8932.4 used,   4772.1 buff/cache
MiB Swap:   8192.0 total,   8189.3 free,      2.7 used.   6234.5 avail Mem
This shows your physical RAM and swap space. The avail Mem value is what you should watch – it shows how much memory is actually available for starting new applications without swapping. If you’re regularly using swap space, you probably need more RAM. Check out my guide on monitoring memory usage for more details.
Process List Columns
Below the summary, you’ll see a table of processes. The most important columns are:
PID– Process ID (unique identifier)USER– Who owns the processPR– Priority (lower numbers = higher priority)NI– Nice value (-20 to 19, affects priority)VIRT– Virtual memory usedRES– Resident memory (actual RAM used)SHR– Shared memoryS– Process state (R=running, S=sleeping, D=uninterruptible sleep, Z=zombie)%CPU– Percentage of CPU time used%MEM– Percentage of physical RAM usedTIME+– Total CPU time consumed since process startedCOMMAND– Command name or path
Understanding Linux process states helps you diagnose what’s actually happening. A process stuck in ‘D’ state usually means it’s waiting on disk I/O or a kernel operation that can’t be interrupted.
Interactive Commands While top is Running
One of top’s best features is its interactivity. While top is running, you can press various keys to change the display or take action. Here are the ones I use most:
Sorting and Display
P– Sort by CPU usage (default)M– Sort by memory usageT– Sort by running timec– Toggle between command name and full command pathV– Show processes in tree/hierarchy view1(number one) – Toggle between combined CPU view and per-core breakdown
Pressing 1 to see individual CPU cores is incredibly useful on multi-core systems. I’ve caught issues where one core was maxed out while others sat idle – usually pointing to single-threaded application bottlenecks.
Filtering Processes
u– Filter by username (prompts you to enter a username)i– Toggle idle processes (hide sleeping processes)oorO– Add custom filters
When I’m tracking down a user’s runaway process, pressing u and entering their username narrows things down immediately.
Process Management
k– Kill a process (prompts for PID and signal)r– Renice a process (change its priority)
Pressing k lets you kill a process directly from top without needing to remember the PID and switch to another command. It’ll ask for the PID (which you can see in the list) and which signal to send. The default is signal 15 (TERM), which asks the process to terminate gracefully. If that doesn’t work, you can use signal 9 (KILL) to force it.
Display Customization
d– Change refresh delayf– Add or remove columns from the displayW– Save current configuration to ~/.toprc
Practical Examples for Real-World Troubleshooting
Let me show you how I actually use top in daily sysadmin work.
Finding the Process Eating All Your CPU
This is the most common use case. Server is slow, and you need to know why:
top
Just run top and look at the first process in the list. By default, it’s sorted by CPU usage. If something’s using 90%+ CPU, you found your culprit. Make note of the PID and the command, then decide whether to kill it, nice it, or investigate why it’s running hot.
Monitor a Specific User’s Processes
When a specific user reports performance issues or you suspect they’re running something problematic:
top -u username
Or launch top normally, then press u and type the username. This filters the view to show only that user’s processes.
Track a Specific Process Over Time
If you know the process ID and want to watch just that process:
top -p 1234
Replace 1234 with the actual PID. You can monitor multiple processes by separating PIDs with commas:
top -p 1234,5678,9012
This is perfect when you’re watching specific services or applications and want to see their resource usage without the noise from everything else.
Log top Output for Historical Analysis
Sometimes you need to capture system behavior over time, especially for intermittent issues. Use batch mode:
top -b -n 10 > top_output.txt
The -b flag enables batch mode (non-interactive), and -n 10 tells it to run 10 iterations then exit. This writes all the output to a file you can analyze later. I combine this with -d to control timing:
top -b -d 5 -n 720 > system_monitoring.log
This runs for one hour (720 iterations at 5-second intervals), perfect for catching issues that happen during specific time windows.
Find Memory-Hungry Processes
Launch top, then press M to sort by memory usage instead of CPU. The process at the top is using the most RAM. If you see memory usage climbing toward your total available RAM, you’ve got a memory leak or just too many things running.
Sometimes processes with high VIRT but low RES values aren’t actually a problem – they’ve allocated virtual memory but aren’t using physical RAM yet. Focus on RES (resident memory) for real memory pressure.
Check Load Average Trends
Look at the three load average numbers in the first line. If the 1-minute average is much higher than the 5 and 15-minute averages, load is spiking right now. If all three are high, you’ve got sustained load. If the 1-minute is lower than the others, things are improving.
On a 4-core system, load averages of 0.5, 0.6, 0.7 mean you’re running at about 15-17% capacity – plenty of headroom. Load averages of 4.5, 5.2, 6.1 mean you’re overloaded and some processes are waiting for CPU time. Brendan Gregg’s explanation of load averages goes deep on why Linux calculates these differently than other Unix systems.
top vs htop: When Should You Use Each?
You’ll eventually run into htop, a more modern alternative to top with a colorful, user-friendly interface. So which should you use?
I use top when:
- I’m on a minimal server installation where htop isn’t available
- I need to script or automate monitoring (top’s batch mode is standard everywhere)
- I want something that just works on every Linux system without installing anything
I use htop when:
- I need to see per-core CPU usage at a glance (htop shows this by default)
- I want a more intuitive interface with mouse support
- I’m doing interactive process management and want clearer visuals
- I need to see process trees and parent-child relationships easily
The truth is, htop offers a better user experience, but top is universally available. Learn top first because you’ll encounter systems where it’s all you’ve got. Then add htop to your toolkit when you can.
Pro Tip: Press h while top is running to see a built-in help screen with all available commands. It’s like having a cheat sheet built right into the tool. Press any key to return to the normal display.
Common top Command Pitfalls to Avoid
After years of using top, I’ve seen people (including past versions of me) make these mistakes:
Confusing VIRT with actual memory usage. VIRT is virtual memory – it’s what the process has requested, not what it’s actually using. Look at RES for real physical RAM consumption.
Killing processes without understanding what they do. Just because something’s using a lot of CPU doesn’t mean it’s bad. Database queries, video encoding, compilation – these are CPU-intensive by nature. Always verify what a process is before killing it, especially on production systems.
Not checking load average context. A load average of 2.0 sounds high, but on an 8-core system that’s only 25% utilization. Always compare load to your CPU core count.
Ignoring the wait percentage. High wa values mean you have an I/O bottleneck, not a CPU problem. Adding more CPU won’t help – you need to optimize disk access, check for failing drives, or look at network-mounted storage issues.
Forgetting top is a snapshot in time. CPU usage can spike and drop within seconds. If you just glance at top once, you might miss the actual problem or blame the wrong process. Watch for at least 30-60 seconds to see patterns.
Advanced top Techniques
Once you’ve mastered the basics, try these more advanced approaches:
Custom Column Configuration
Press f while top is running to enter the field management screen. You can add or remove columns, change their order, and customize exactly what information you see. Once configured how you like it, press W to save these settings permanently to ~/.toprc.
Highlight Running Processes
Press x to toggle column highlighting, and y to toggle row highlighting for running processes. This makes it easier to spot actively running tasks versus sleeping ones.
Change Color Scheme
Press z to toggle color mode on and off. Press Z (capital) to customize the color scheme. Some terminal color schemes make top hard to read, and this lets you adjust it.
Forest View for Process Trees
Press V to see processes in a tree format showing parent-child relationships. This is incredibly useful when you’re tracking down which process spawned a problematic child process. If a script is launching hundreds of worker processes, forest view shows you the hierarchy clearly.
When top Isn’t Enough
As powerful as top is, sometimes you need specialized tools:
For detailed file and network connection information, use lsof to see what files processes have open. For service-specific monitoring, check systemd service status to see if critical services are running properly.
For long-term monitoring and graphing, you’ll want tools like Prometheus, Grafana, or at least sar (system activity reporter). top gives you real-time snapshots, but it doesn’t track trends over days or weeks.
For deep performance analysis, tools like perf, strace, and eBPF-based utilities can profile what your processes are doing at the system call level. top shows you the symptoms, but these tools help diagnose the root cause.
Making top Part of Your Daily Workflow
I probably run top a dozen times a day without thinking about it. It’s become muscle memory: SSH into a server, type top, glance at the load average and top processes, then move on. It takes five seconds and gives me instant situational awareness about system health.
Here’s how I recommend building the habit:
Start your troubleshooting with top. Make it your first step when investigating performance issues. CPU high? Check top. Server slow? Check top. User complaining about lag? Check top. You’ll often find the answer immediately.
Learn the interactive commands gradually. Don’t try to memorize everything at once. Start with M to sort by memory and k to kill processes. Add more commands as you need them. After a few weeks, the important ones become automatic.
Combine top with other monitoring tools. Use top for real-time process monitoring, but also set up proper monitoring infrastructure with alerts. top is fantastic for reactive troubleshooting, but you need proactive monitoring to catch issues before they become emergencies.
Practice on non-critical systems first. Spin up a VM or use your home lab to experiment with killing processes, changing priorities, and understanding the display. You don’t want your first time pressing k to be on a production database server.
The top command is one of those foundational tools that separates beginners from experienced Linux administrators. It’s not flashy, it’s not new, but it’s absolutely essential. Master it, and you’ll have a superpower for understanding what’s really happening on your systems.
Now go run top on your system and see what’s actually using your resources. You might be surprised what you find.