Why I Finally Learned the tar Command (After Years of Right-Clicking)
For my first three years using Linux, I avoided the tar command like it was written in ancient hieroglyphics. I’d right-click files in my file manager, select “compress,” and call it a day. Then one afternoon, while sipping a cold brew at my desk, my server ran out of disk space during a critical backup operation. That’s when I realized I needed to actually understand tar—not just fear it.
The tar command (short for “tape archive”) is one of those essential Linux tools that seems intimidating until you use it a few times. Then it becomes second nature. If you’ve ever struggled with disk space issues on Linux, learning to efficiently compress and extract files with tar is an absolute game-changer.
In this guide, I’ll walk you through everything you need to know about the tar command with practical, real-world examples. No fluff, no confusing jargon—just the stuff that actually matters when you’re trying to get work done.
Understanding tar: Archives vs Compression
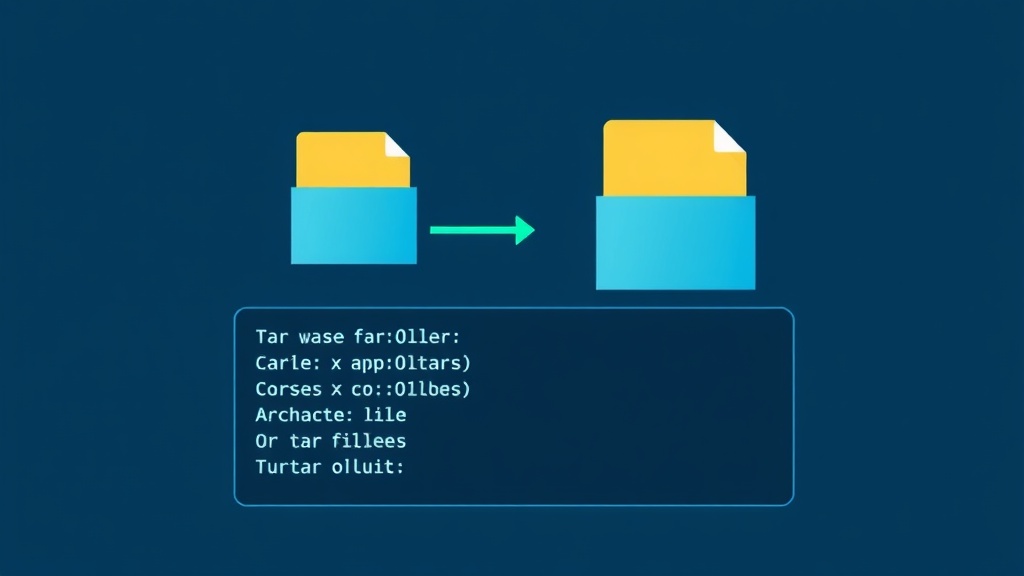
Here’s something that confused me for way too long: tar itself doesn’t actually compress files. Mind-blowing, right? The tar command creates archives—it bundles multiple files and directories into a single file. Think of it like putting a bunch of documents into a manila folder.
The compression part happens when you combine tar with compression tools like gzip, bzip2, or xz. This is why you see file extensions like .tar.gz or .tar.bz2—the .tar part is the archive, and the .gz or .bz2 is the compression format.
Understanding this distinction helped me finally grasp what all those command flags actually do.
Essential tar Command Options You’ll Actually Use
The tar command has dozens of options, but you’ll use these five about 95% of the time:
- -c: Create a new archive
- -x: Extract files from an archive
- -v: Verbose mode (shows what’s happening)
- -f: Specify the archive filename
- -z: Compress/decompress with gzip
- -j: Compress/decompress with bzip2
- -J: Compress/decompress with xz
- -t: List contents without extracting
- -C: Extract to a specific directory
The beauty of tar is that once you understand these basic flags, you can combine them to do exactly what you need.
Creating tar Archives: Practical Examples
Creating a Basic Uncompressed Archive
Let’s start simple. To create a basic tar archive without compression:
tar -cvf backup.tar /path/to/directoryBreaking this down:
-ccreates a new archive-vshows you each file as it’s added (verbose)-f backup.tarspecifies the output filename
This creates backup.tar containing everything in the specified directory. But here’s the thing—uncompressed tar files can be huge. That’s where compression comes in.
Creating a Compressed Archive with gzip
This is what I use most often for general-purpose backups:
tar -czvf backup.tar.gz /home/alice/projectsNotice the -z flag? That tells tar to compress using gzip. The .tar.gz extension (or .tgz for short) is the standard for gzip-compressed archives.
Gzip offers a great balance between compression speed and file size reduction. When I’m backing up configuration files or text-heavy directories, gzip compression typically reduces file sizes by 70-80%.
Using bzip2 for Better Compression
When I need maximum compression and don’t mind waiting a bit longer:
tar -cjvf backup.tar.bz2 /home/alice/documentsThe -j flag uses bzip2 compression. Bzip2 is slower than gzip but produces smaller files—typically 10-15% smaller in my experience. I use this for archiving large document folders that I won’t need to access frequently.
Using xz for Maximum Compression
For the absolute best compression ratio:
tar -cJvf backup.tar.xz /home/alice/mediaThe capital -J flag uses xz compression. This is the slowest option but produces the smallest files. I use xz when archiving large media files for long-term storage where disk space is at a premium.
Extracting tar Archives: Getting Your Files Back
Basic Extraction
Extracting is even easier than creating archives. To extract a gzip-compressed archive:
tar -xzvf backup.tar.gzThe -x flag extracts files. The -z flag tells tar this is gzip-compressed. Here’s something cool: modern versions of tar can often auto-detect compression, so you can sometimes just use:
tar -xvf backup.tar.gzBut I still prefer being explicit with the compression flag—it makes the command clearer and works on older systems.
Extracting to a Specific Directory
This is incredibly useful when you don’t want to clutter your current directory:
tar -xzvf backup.tar.gz -C /tmp/restoreThe -C flag changes the directory before extracting. Just make sure the target directory already exists—tar won’t create it for you.
Extracting Specific Files
You don’t always need to extract an entire archive. To extract just specific files:
tar -xzvf backup.tar.gz path/to/specific/file.txtThis extracts only file.txt while leaving everything else in the archive. Super handy when you’re dealing with large archives and only need one file.
Listing Archive Contents Without Extracting
Before extracting a mystery archive you downloaded or received, it’s smart to check what’s inside:
tar -tzvf backup.tar.gzThe -t flag lists contents without extracting. This has saved me countless times from accidentally extracting hundreds of files into my current directory instead of a subdirectory.
You can also pipe this to grep to search for specific files:
tar -tzvf backup.tar.gz | grep configThis lists only files containing “config” in their path—perfect when you’re hunting for specific configuration files in a large backup.
Real-World tar Use Cases
Backing Up Your Home Directory
I run this command weekly to back up my important files:
tar -czvf ~/backups/home-backup-$(date +%Y%m%d).tar.gz \
  --exclude='*.cache' \
  --exclude='Downloads' \
  ~/Documents ~/projects ~/.config
The --exclude flags let me skip cache files and my massive Downloads folder. The $(date +%Y%m%d) adds the current date to the filename, so I get files like home-backup-20250915.tar.gz.
Creating Compressed Backups Before System Changes
Before making changes to critical system files, I always create a backup. When I’m working with system services and need to modify configuration files (something I learned the hard way after reading about the difference between systemctl restart and reload), I run:
sudo tar -czvf /root/config-backup-$(date +%Y%m%d).tar.gz /etcThis creates a complete backup of the /etc directory. If something breaks, I can restore individual files without reinstalling the entire system.
Archiving Project Directories
When I finish a project, I archive it to free up space on my development machine:
tar -czvf archived-projects/myproject.tar.gz ~/projects/myprojectThen I can safely delete the original directory, knowing I can restore it anytime. Combined with what I learned about using the find command to locate old project files, this keeps my system organized and efficient.
Transferring Multiple Files Over SSH
When I need to copy entire directory structures to a remote server, tar makes it efficient:
tar -czf - /path/to/directory | ssh user@remote "tar -xzf - -C /destination"This creates a compressed archive, pipes it through SSH, and extracts it on the remote server—all in one command. No temporary files, no multiple transfers.
Advanced tar Tips I Wish I’d Known Sooner
Preserving Permissions and Ownership
By default, tar preserves file permissions. When extracting as root, use the -p flag to preserve exact permissions and ownership:
sudo tar -xzvpf backup.tar.gzThis is critical when restoring system backups where file permissions matter for security.
Appending Files to Existing Archives
You can add files to an existing uncompressed archive:
tar -rvf backup.tar newfile.txtThe -r flag appends files. However, this only works with uncompressed tar archives—you can’t append to compressed archives. If you need to modify a compressed archive, you’ll have to extract it, modify it, and recompress it.
Verifying Archive Integrity
After creating an important backup, verify it’s not corrupted:
tar -tzvf backup.tar.gz > /dev/nullIf the archive is corrupted, tar will report errors. No news is good news here—if the command completes silently, your archive is fine.
Creating Archives with Absolute Paths
By default, tar strips the leading slash from absolute paths. To preserve them (use cautiously!):
tar -czvf backup.tar.gz -P /home/alice/documentsThe -P flag keeps absolute paths. I rarely use this because extracting archives with absolute paths can overwrite system files. But it’s useful when you need exact path preservation for restoration purposes.
Common tar Mistakes to Avoid
Forgetting the -f Flag
I can’t tell you how many times I’ve typed:
tar -czv backup.tar.gz /path/to/filesAnd gotten weird errors. The problem? The -f flag must come last before the filename. The correct order is:
tar -czvf backup.tar.gz /path/to/filesExtracting tar Bombs
A “tar bomb” is an archive that extracts hundreds of files directly into your current directory instead of a subdirectory. Always list contents first:
tar -tzf suspicious-archive.tar.gz | headIf files don’t start with a common directory prefix, create a directory first:
mkdir extracted
tar -xzvf suspicious-archive.tar.gz -C extracted
Using the Wrong Compression Flag
Trying to extract a bzip2 archive with the -z flag (gzip) will give you errors. Match the flag to the file extension:
.tar.gzor.tgz→ use-z.tar.bz2→ use-j.tar.xz→ use-J
Quick Reference: tar Command Cheat Sheet
Here are the commands I use most frequently, formatted for easy copy-pasting:
# Create a gzip-compressed archive
tar -czvf archive.tar.gz /path/to/directory
# Extract a gzip-compressed archive
tar -xzvf archive.tar.gz
# List archive contents
tar -tzvf archive.tar.gz
# Extract to specific directory
tar -xzvf archive.tar.gz -C /destination
# Create bzip2-compressed archive
tar -cjvf archive.tar.bz2 /path/to/directory
# Create xz-compressed archive
tar -cJvf archive.tar.xz /path/to/directory
# Extract specific files
tar -xzvf archive.tar.gz path/to/file.txt
# Create archive excluding files
tar -czvf archive.tar.gz --exclude='*.log' /path/to/directory
# Verify archive integrity
tar -tzvf archive.tar.gz > /dev/null
Final Thoughts: Making tar Work for You
Learning the tar command transformed how I manage files on Linux. What once seemed like cryptic command-line wizardry now feels as natural as dragging files into a folder. The key is starting with the basics—creating and extracting simple archives—then gradually incorporating more advanced techniques as you need them.
These days, I use tar daily for backups, project archival, and transferring files between systems. It’s one of those foundational Linux skills that pays dividends every single day. And honestly? Once you internalize that -czvf creates archives and -xzvf extracts them, the rest becomes intuitive.
Now if you’ll excuse me, I need to go archive some old project directories. My SSD is reminding me that disk space isn’t infinite—a lesson I keep learning the hard way!